Home Appliance Paint: The Complete Guide to Refreshing Your Appliances Like a Pro
However, upgrading such appliances will cost a lot. There is another solution – it will not only help you to update them and improve their looks, but also it will save money. The paints designed for painting kitchen appliances allow homeowners to renew their appliances without having to spend much money on new ones.
It is important to note that home appliance paint is different from the usual spray paint. It is created with special formula and after proper application it gives you hard and smooth surface that looks like original one.
In this article, we will give you all the information concerning home appliance paint.
Why Choose Home Appliance Paint?
Homeowners usually think that the only choice when their old appliances show signs of wear is to replace them. However, there exists another solution using home appliance paint. It can be an affordable way to achieve amazing results.
The main benefits are as follows:
• Cheaper than replacing appliances
• Revitalizes old designs
• Conceals scratches, rust stains, and marks
• Provides a perfectly smooth surface, like a factory one
• Keeps metals protected against corrosion
• Increases the lifespan of appliances
• Suitable for do-it-yourself people
No matter if it’s about renovation of a rental property or a kitchen at home, the paint will be extremely useful.
Types of Home Appliance Paint
Selection of the right home appliance paint is important if you want durability and a beautiful paint job. There are several types available, depending on what your requirements are.
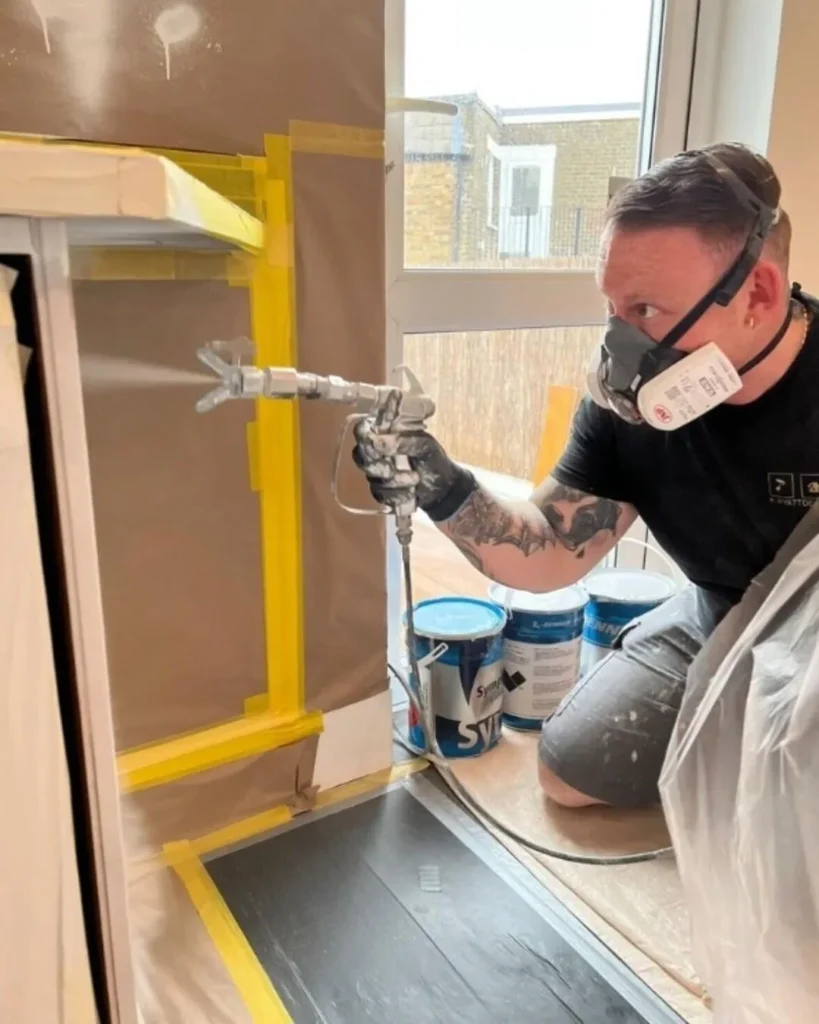
Spray Home Appliance Paint
These types of paints yield the smoothest finish since they will apply paint evenly on a big area.
Advantages are:
• Fewest brush strokes
• Looks professional
• Quick painting
• Great for refrigerators and dishwashers
This paint should be applied in a well-ventilated outdoor area like the garage.
Brush-On Home Appliance Paint
Brush-on home appliance paint is good if you need to do smaller projects or appliances which can’t be moved.
Advantages are:
• More control
• No overspray
• Good for touch-ups
• Great coverage on any damaged areas
You can use a high-quality foam roller to get an even better finish.
Epoxy Home Appliance Paint
The epoxy based home appliance paint is one of the toughest types of paints available.
It gives you:
• Tough finish which resists scratches
• Resistant to chemicals
• Resistance to moisture
• Long lasting gloss
• Good adhesion to metal surface
Appliances You Can Paint
There are many metal appliances which can be painted using appliance paints, such as:
• Refrigerators
• Freezers
• Dishwashers
• Washing Machines
• Clothes Dryers
• Water Heaters
• Metal Cabinets
• Laundry Storage Units
Special consideration must always be taken when painting specialized appliances.
Preparing Appliances Before Painting
How long your painted appliance will last depends on the preparation done right at the beginning.
Step 1: Disconnect the Appliance
Safety always comes first.
• Unplug any appliance that uses electricity.
• Disconnect any appliance using gas.
• Move the appliance into an open workspace.
Step 2: Thorough Cleaning
Clean off the following:
• Grease
• Dust
• Food residues
• Soap buildup
• Oils from fingerprints
A good degreaser followed by warm water should do a good job.
Let the appliance dry before moving to the next step.
Step 3: Sanding the Surface
Light sanding helps the paint stick better.
Materials needed:
• 220 grit sandpaper
• Fine sanding sponge
You don’t need to remove all the old paint; just make sure the surface is somewhat rough.
Step 4: Fixing Any Damages
Take time to check out the appliance carefully.
Fix:
• Rust patches
• Small dents
• Burnt areas
• Fine scratches
This makes your appliance look a lot better when you’re through.
Step 5: Masking the Surroundings
Painter’s tape and plastic sheeting are used to mask off:
• Appliance handles
• Control panels
• Rubber seals
• Logos
• The glass part
How to Apply Home Appliance Paint
Correct application of the paint on the home appliances makes the greatest impact on the final result.
Use Thin Coats
Do not apply thick coats.
Instead, do the following:
• Shake spray cans well before use.
• Aim at 8 to 12 inches from the surface.
• Apply spray evenly in overlapping strokes.
• Do not stop holding the can.

Wait Until It Dries Before Applying Next Coat
The majority of home appliance paints require applying several coats.
Normally,
• Take 15-30 minutes interval between light coats.
• Apply 2 to 4 coats.
• Consult manufacturers’ directions.
Curing Period After Finishing
Even though paint is going to feel dry within several hours, complete curing might take several days.
Do not:
• Clean thoroughly
• Scratch the surface
• Install shelves immediately
• Move the appliance too much.
Maintaining Your Painted Appliances
Maintenance will assist in maintaining your painted appliance in good condition after curing. A few things can be done to ensure that the paint remains in good condition.
Some of the tips on how to maintain painted appliances include:
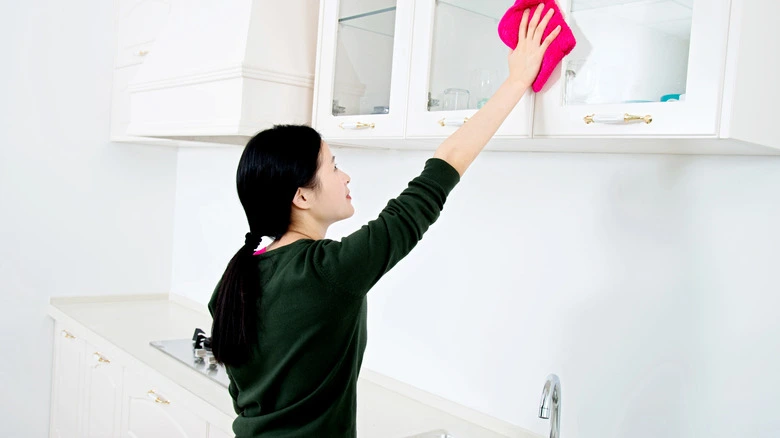
• Always clean your appliance using a soft microfiber cloth.
• Use only mild dishwashing soap and water.
• Don’t use anything abrasive when cleaning the painted surface.
• Harsh chemical cleaning solutions should not be used except as directed by the paint maker.
• Keep the surface clean at all times to avoid stains.
• Ensure that you do not bang heavy kitchenware or tools on the painted appliance.
Common Mistakes to Avoid When Using Home Appliance Paint
Even the best quality home appliance paint can go to waste if it is not applied correctly. These are some mistakes to avoid for best results.
Neglecting Surface Preparation
Paints applied to surfaces with grease, dust, or peeling paint tend to peel off. Clean the surface and then sand it lightly before painting.
Applying Heavy Coats
Drips, bubbles, and uneven drying may result from heavy application. Applying light coats ensures an even and smooth finish.
Disregarding Drying Time
This is perhaps the most fatal mistake. Each coat should be allowed enough time to dry as per the manufacturer’s recommendation.
Painting under Unfavorable Conditions
Very humid, dusty, or cold conditions may interfere with the finish. Make sure the area where you work is clean, dry, and ventilated.
Using the Wrong Paint
Not all paints are made for appliances. Make sure you are using home appliance paint for your metal surfaces.
Is Home Appliance Paint Worth It?
For most people who own their homes, the answer is affirmative. Rather than replace appliances that are working perfectly fine, it makes sense to paint them at an inexpensive cost, thereby making the kitchen, laundry, or utility room look beautiful.
Advantages of home appliance painting include:
• Inexpensive home improvement project
• Increased lifespan of the appliances
• The appearance is updated and made to look modern
• Less wasteful compared to buying new appliances
• Gives a chance to coordinate with a new décor style
If applied properly, home appliance paints give an excellent finish.
Home Appliance Paint vs. Replacing Appliances
If you’re deciding between repainting and buying new appliances, consider the following comparison.
| Features | Home Appliance Paint | New Appliance |
| Cost | Low | Costly |
| Installation | Easily done by do-it-yourselfers | Professional help may be required |
| Time Requirement | 1-2 days plus curing time | Time for delivery and installation |
| Look | Fresh finish | Like brand new from factory |
| Environmental Effects | Renews old appliances | More wastage |
In case where the appliances still function well and are just considered to be out-of-date, it makes sense to choose the former.
Expert Tips for the Best Results
The following tips are recommended by professionals for a perfect finish:
• Spray test on cardboard before painting the appliance.
• Move the spray can continuously to prevent an uneven finish.
• Maintain a uniform spraying distance.
• Use several thin layers of paint rather than a single thick layer.
• Let the paint cure thoroughly before using it.
• Protect the surrounding surfaces from any damage using drop cloths and painter’s tape.
These easy tips will help you get better results from your work.

Frequently Asked Questions (FAQs)
1. What is home appliance paint?
Home appliance paint is a special type of coating designed for metal appliances that provides a scratch-resistant, moisture-resistant finish.
2. Can I use home appliance paint for my refrigerator?
Of course. The refrigerator is one of the most popular appliances to apply home appliance paint to.
3. Should I prime my appliance before painting it?
Sometimes, home appliance paint already contains a primer; in other cases, it works better when applied on top of a primer.
4. How long will home appliance paint last?
Home appliance paint, applied properly, can retain its quality for several years.
5. Is home appliance paint suitable for indoor usage?
Yes, it can be used indoors, though you have to ensure good ventilation in your working place. If you plan to use spray paint, you will need additional protection gear.
Conclusion
Application of home appliance paint is among the easiest and cheapest methods of improving the look of old appliances through painting without incurring extra costs of buying new appliances. Painting refrigerators, dishwashers, washers, dryers, and other household equipment by application of appropriate paint and following correct procedures can bring about remarkable outcomes.
A homeowner must ensure thorough cleaning of the surface to be painted, apply thin and even layers, allow adequate time to dry, and clean carefully after the process of painting. If you want an effective solution for improving old appliances at a reduced cost, then application of home appliance paint is ideal for you.